Saturday, June 6. 2009
Advent 4211-B repairing Broken Screen
Hi,
This is how I replaced a cracked screen for the Advent4211-B:
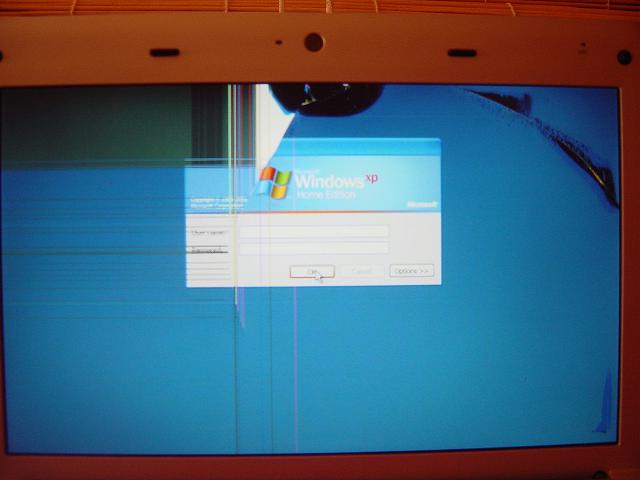
Image below shown a crack on top of the screen which, in time, it was extending along both sides of the screen.
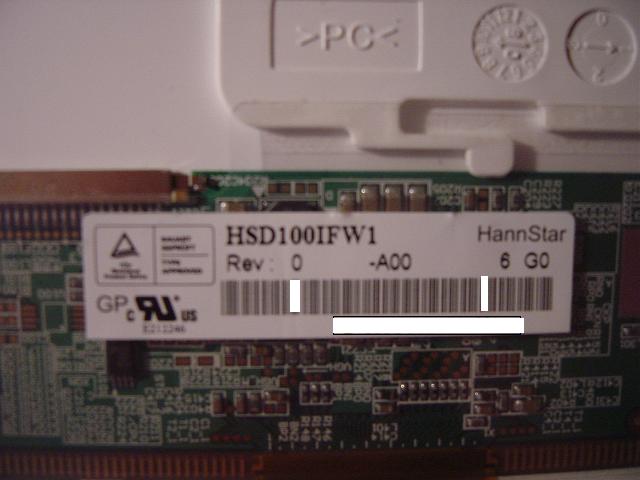
Take note of the manufacturer of the screen. Was a little bit hard to find the appropriate screen for this netbook.
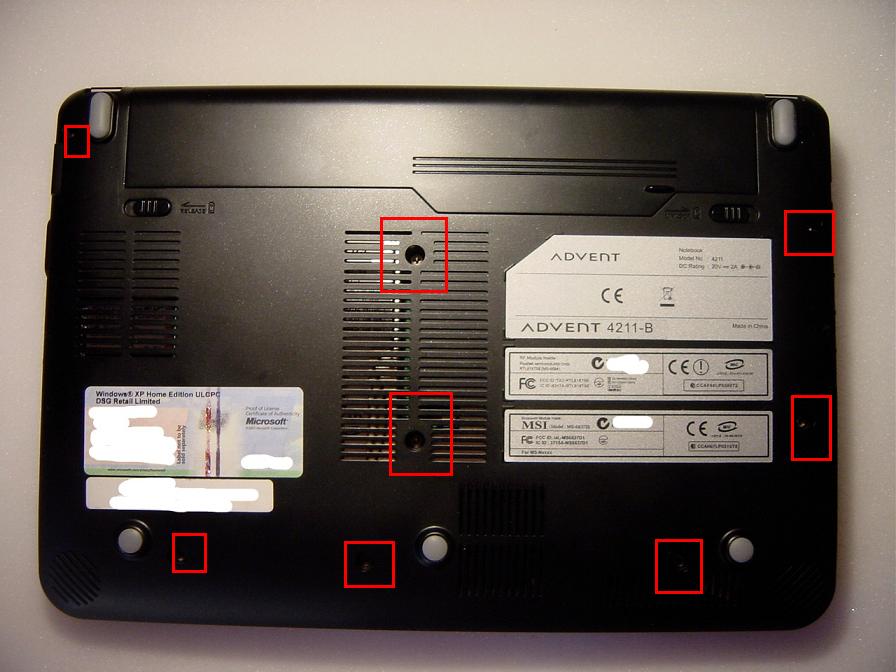
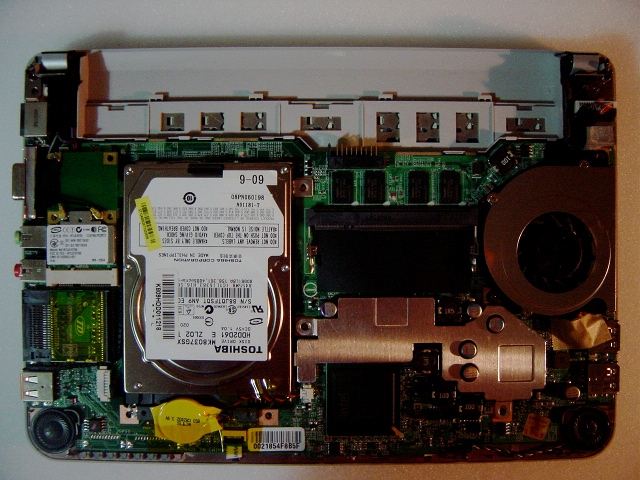
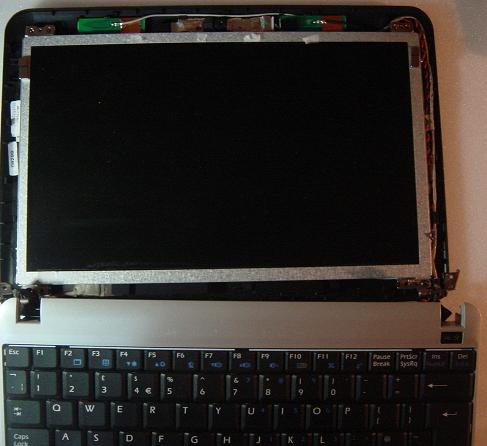
The laptop is fairly easy to open. You only need a standard Phillips screwdriver. The screws are located on shown below on the back of the computer:
Also at the front of the screen, on the four corners and behind the black rubber stickers you got another set of screws. To remove the rubber stickers you can use a blade/a needle..etc..
First remove the laptop''s battery and after that the screws of the back of the system.
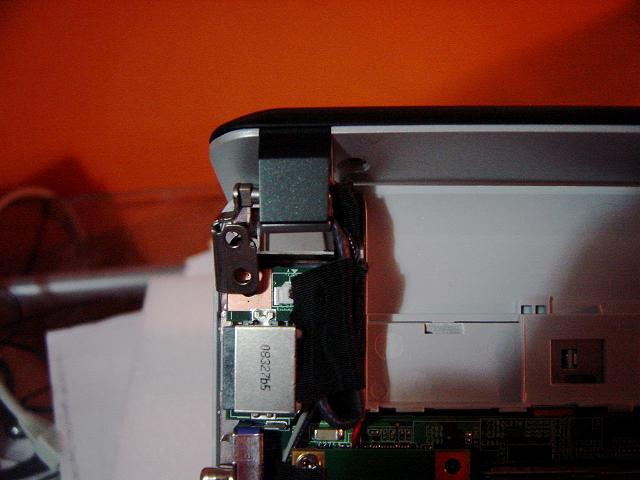
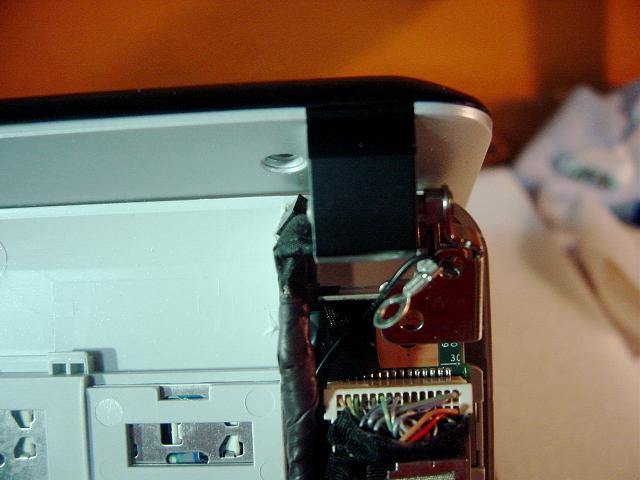
After removing those screws you can carefully separate the black case from the system. BE AWARE the black part of the hinges might fall off after unscrewing the plastic parts of the laptop, try to remember the right way to set them up when re-assembling the system.
below are images of the left and right hinges after being unscrewed.
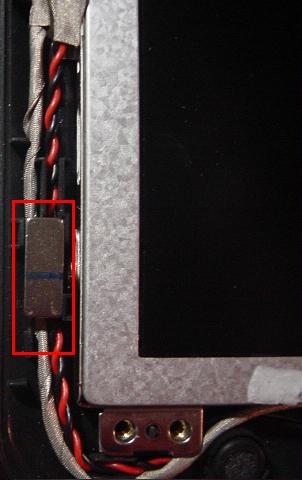
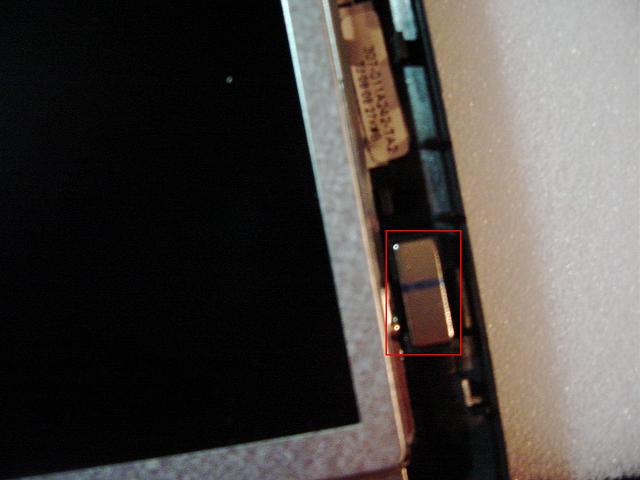
Now you can remove the black stickers from the screen, thus uncovering four screws. After that, you can separate the plastic frame which is holding the screen, for this purpose you can use your nails all around the screen, not real need for a blade. You will find magnets on both sides of the screen. The magnets are used to keep the netbook's lid closed tight. When opening the case containing the screen the magnets will adhere to the screen. Do not worry about that, take them away from the netbook until you finish replacing the broken screen, then you can put them back in the little places alocated on both sides of the plastic frame.
Images below:
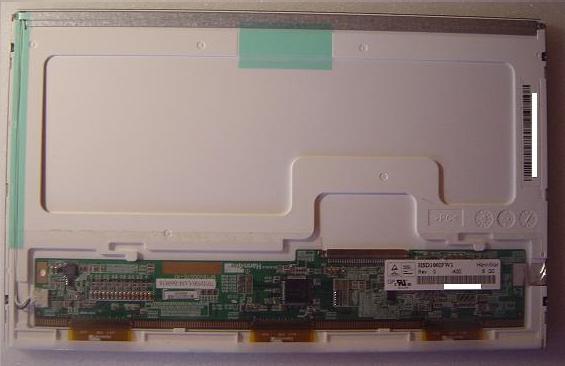
The back of the screen looks as follows
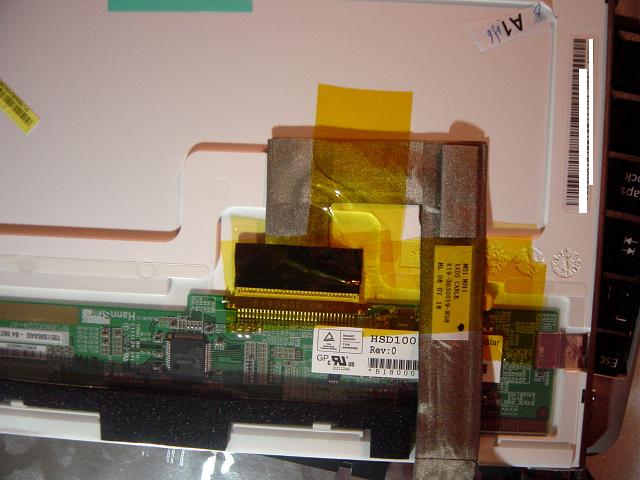
Remove the yellow sticker and separate the cable, you can pull it gently using either a flat screwdriver or your fingers.
Now you only need to get the new screen and re-attach the cable, also you can reuse the previous yellow sticker or any other adhesive. Take care with the location of the cables, try to re-set the cables as you found them before opening the netbook.
You can now test all the components are fully working before closing the plastic covers. If everything works as expected, then you are ready to close the netbook.
Re-set the magnets and the cables for the micro and the webcam, if the screws for the hinges were removed at an earlier stage put them back and now you can close the plastic frame and set the screws back.
When done, you can now screw the hinges back to the motherboard and carefully place the cables and the plastic covers for the hinges back to its original state.
Now you are ready to close the netbook case and to put all the screws back.
Thanks
Gonza.


 Superdotación - Giftedness


